🍞 Bread in Oven Proofing Time Calculator
Estimate warm oven proofing windows from dough type, dough weight, yeast percentage, sugar, enrichment, humidity, starting dough temperature, loaf shape, and target rise.
Use oven proof temperature for a turned-off warm oven, proof setting, or oven light setup. If oven proofing is unavailable, the room temperature fallback estimates the slower counter window.
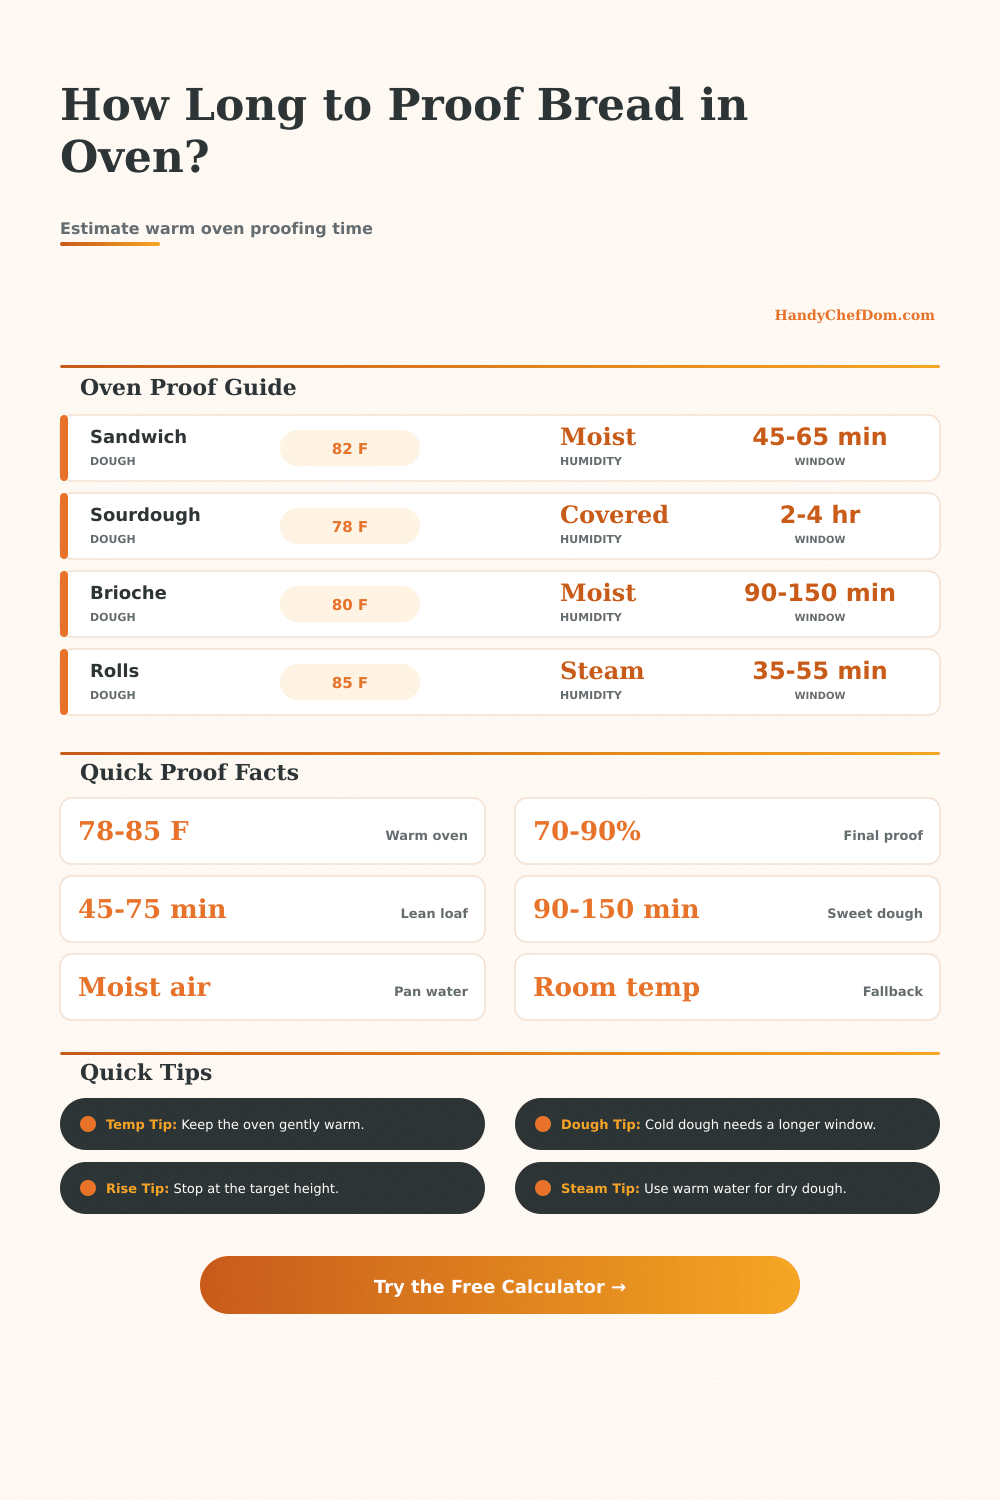
| Dough Type | Warm Oven Range | Typical Final Proof | Watch For |
|---|---|---|---|
| Lean white pan loaf | 78 to 84°F | 45 to 75 minutes | Crown just over pan rim |
| Soft sandwich loaf | 80 to 85°F | 50 to 85 minutes | Puffy dome, soft poke |
| Sourdough batard | 74 to 80°F | 2 to 4 hours | Slow spring-back poke |
| Brioche or challah | 78 to 82°F | 90 to 150 minutes | Jiggly, expanded braid |
| Dinner rolls | 82 to 88°F | 35 to 60 minutes | Touching sides, airy feel |
| Pizza dough balls | 74 to 82°F | 45 to 90 minutes | Relaxed, bubbly edges |
| Proof Condition | Time Effect | Best Use | Calculator Meaning |
|---|---|---|---|
| Dry oven air | Slower skin risk | Covered bowls only | Adds a small time buffer |
| Covered pan | Neutral and steady | Most loaf pans | Baseline humidity factor |
| Warm pan water | Slightly faster | Lean or dry dough | Reduces surface drying |
| Steamy proof box feel | Faster expansion | Rolls and enriched dough | Shortens the estimate |
| Bagged or lidded pan | Moist and stable | Final shaped proof | Keeps window narrower |
| Dough or Shape | Fermentation Pace | Target Rise | Planning Note |
|---|---|---|---|
| Pan loaf | Moderate | 75 to 90% | Use pan height as the visual cue |
| Batard or boule | Moderate to slow | 60 to 85% | Free-form dough overproofs visibly |
| Baguette | Fast surface proof | 55 to 75% | Shorter final proof preserves shape |
| Rolls or buns | Fast | 80 to 100% | Small pieces warm quickly |
| Pizza balls | Moderate | 50 to 80% | Look for relaxed extensible dough |
| Braid or enriched loaf | Slow | 80 to 100% | Sugar and fat delay full puff |
| Room Temp | Lean Dough | Enriched Dough | Sourdough |
|---|---|---|---|
| 62°F | 2 to 3 hours | 3 to 5 hours | 5 to 8 hours |
| 68°F | 75 to 120 minutes | 2 to 4 hours | 4 to 6 hours |
| 72°F | 60 to 95 minutes | 90 to 180 minutes | 3 to 5 hours |
| 76°F | 45 to 80 minutes | 75 to 150 minutes | 2.5 to 4 hours |
| 80°F | 35 to 65 minutes | 60 to 120 minutes | 2 to 3.5 hours |
The way you know when the dough has gone from lumpy mess to living creature is if you stand there watching it quiet enough. You know it’s happening when you stare out the window or check your phone for the timer to go off, or when your bread goes from being an airy loaf to a disc of dough. You want to take it out before it falls in on itself, but you don’t want it to still be asleep when it comes out of the oven. That’s where a warm oven gets its power as a proofing box: it takes away that guesswork.
But how does it work? What are all these numbers on your calculator (above) trying to tell you? It turns out, this is where real baking occurs. Heat controls speed, yes. But temperature is actualy about speed. As soon as there’s enough warmth to get the yeast going, there’s plenty of warmth to weaken gluten structure. You might have a fast rise at a high proofing temperature in your oven, but you may end up with a loaf whose layers spreads out instead of climb up. That is why the tool asks what setting your oven is on.
How to Use the Baking Calculator
Eighty degrees Fahrenheit or so are the sweet spot for most dough: a gentle warmth that encourages steady expansion, without shocking the yeast into erratic behavior. Rush things, and you don’t usually improve the resulting crumb structure. What you’re looking for is a slow, controlled bloom.
The addition of sugar, eggs, or fat significantly alters the timeline. For example, lean doughs such as baguettes is simple because there is no “opposition” to slow things down. However, adding enrichments slows down gluten formation because fat wraps around flour protein. These additions also stress the yeast cells, as sugar does so through osmotic pressure. The calculator extends the estimated time to account for this drag when you enter greater percentages of enrichment. This is not a penalty; it reflects reality. A brioche will take longer then expected. It’s heavier and resists expansion. If you try to proof it using lean dough timer, you’re going to end up with a dense brick.
As much as anything, humidity screws up a loaf (more than poor yeast). When the air is dry, it sucks the moisture out of the top of the dough and creates skin. This skin acts like a cage with an outer layer that won’t stretch when the inside need to expand. So the bread either splits open at the seams, or tears along some other awkward line. A pan of hot water in the oven establishes a microclimate: it maintains elasticity and pliability of the surface. You might think that’s not such a big deal. But look at reference table on the page; steamy conditions will speed things up a little, and it’s enough to make all the difference in the final rise.
The timing also depends on shape. Walls support a pan loaf, and the tension of a boule keeps its form better than a relaxed baguette does, so the tool will adjust to match. A free-form loaf must be pulled out sooner then a pan loaf. You’re looking at a smaller window before gravity takes over once the gluten can no longer contain the gas inside. Watch it close.
You also need backup plans when the oven’s tied up. While cooler temps let your dough develop more complex flavor, they does so slowly (which is a feature, not a bug). When you can’t oven-proof, the calculator provides benchmarks to go by as well as an estimate of how long it will take on the counter top. It should of been a safety net to work with.
Trust your eyes, not your clock. It depends off the brand of flour, the altitude, and the humidity. There’s no law in the numbers; they’re just a guide. So, know what time range to begin by looking. And then look for visual clues. When you gently press into a properly proofed dough, it should spring back slowly. It also needs to feel light and airy. The calculator gets you to the finish line, but your senses carry you across it. Begin with the data, but end with the dough.