🥩 Meat Cooking Time Calculator
Estimate meat cooking time from meat family, cut profile, weight, thickness, cooking method, heat setting, doneness target, rest time, carryover allowance, starting temperature, and bone-in shape.
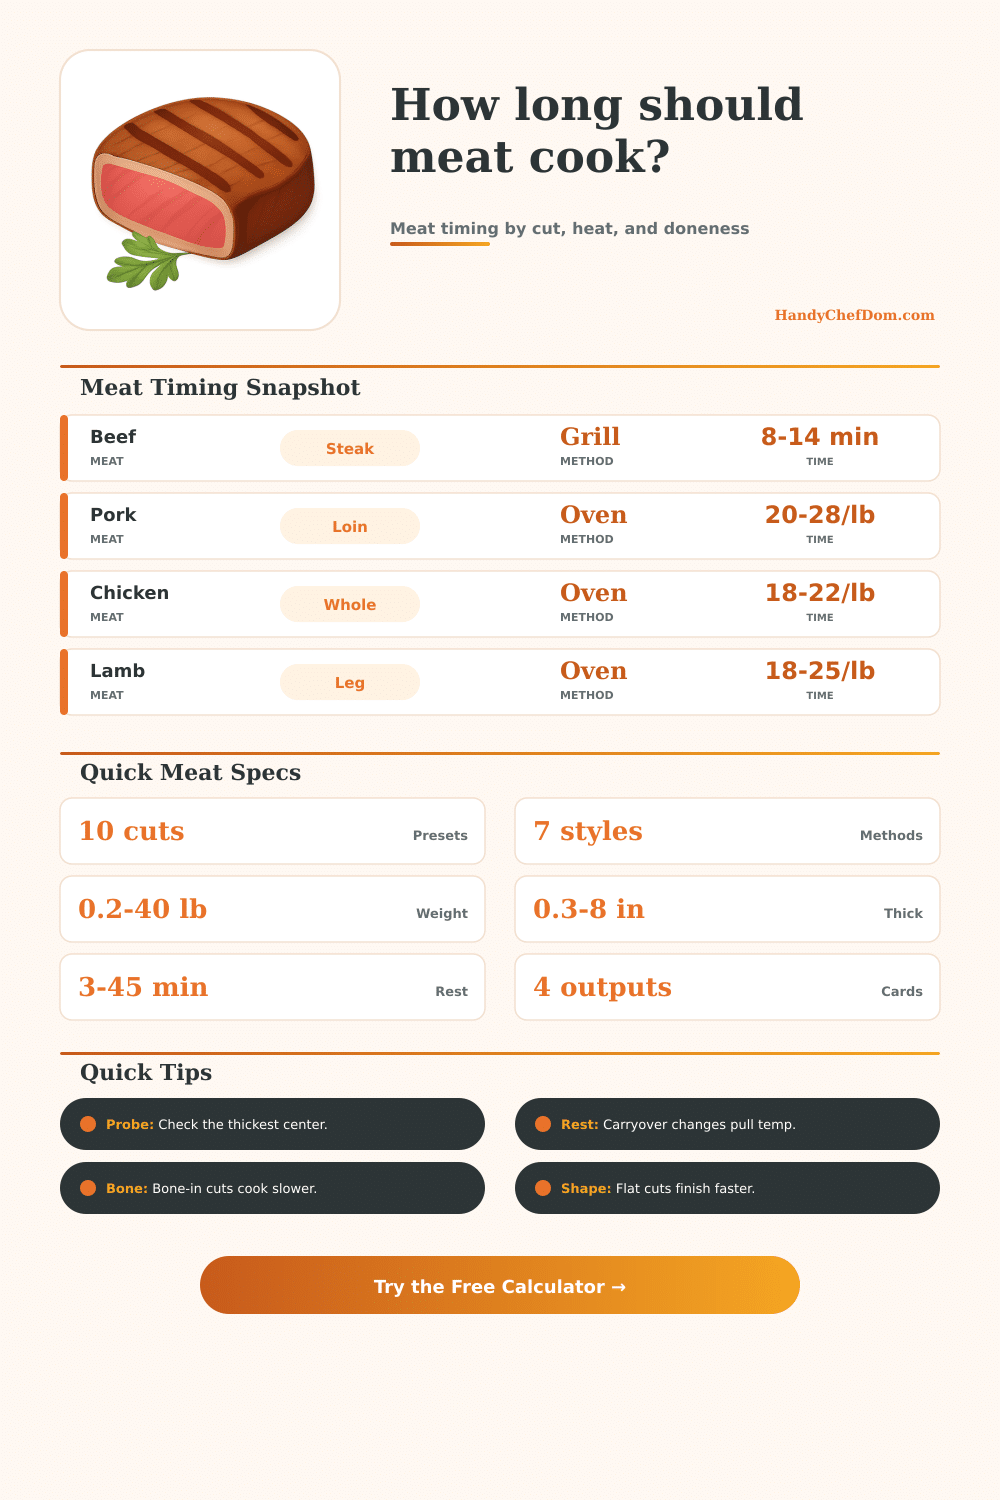
Choose a preset or enter your own cut. The calculator builds a timing window, pull temperature, check time, rest plan, yield estimate, and method notes from the full set of inputs.
Thickness drives the estimate; pan sear and broil use similar early check windows.
Weight and compactness drive timing, with carryover doing real work during rest.
Lean pork, lamb, and venison loins need a narrower check window near the end.
Long cooking targets tenderness instead of a quick rosy-center finish.
Large bone-in and cavity shapes add time even when the raw weight looks modest.
Turkey, chicken, and lean roasts benefit from early checks at the thickest point.
A crisp-skin pan start cooks quickly, so the calculator shortens the low range.
Loaves and thick patties use weight plus thickness because the core heats slowly.
| Meat family | Doneness target | Common pull range | Rest window | Calculator use |
|---|---|---|---|---|
| Beef or lamb | 125 F rare, 135 F medium rare | 3 to 10 F below target | 5 to 25 minutes | Use rare, medium rare, or custom. |
| Pork loin or chop | 145 F medium | 140 F to 143 F | 5 to 12 minutes | Use medium or custom target. |
| Poultry pieces | 165 F finish | 160 F to 163 F | 5 to 15 minutes | Use poultry finish and probe center. |
| Ground meat | 160 F finish | 156 F to 158 F | 5 to 10 minutes | Use ground meat finish for loaves. |
| Braise cuts | 195 F to 205 F tender range | Not carryover focused | 10 to 30 minutes | Use tender braise finish. |
| Roast or bird cut | Typical heat | Starting estimate | Best target | Timing note |
|---|---|---|---|---|
| Beef tender roast | 325 F to 375 F | 18 to 25 min/lb | 125 F to 145 F | Rest affects final temperature strongly. |
| Pork loin roast | 350 F to 375 F | 20 to 28 min/lb | 145 F to 155 F | Lean shape needs early checking. |
| Lamb leg | 325 F to 375 F | 18 to 25 min/lb | 135 F to 150 F | Bone-in legs run slower near the bone. |
| Whole chicken | 350 F to 425 F | 18 to 22 min/lb | 165 F finish | Cavity shape widens the timing range. |
| Turkey breast | 325 F to 375 F | 20 to 26 min/lb | 165 F finish | Large breasts need a longer rest. |
| Steak, chop, or breast thickness | Grill or broil | Pan sear | Air fryer | Best check cue |
|---|---|---|---|---|
| 1/2 inch | 4 to 7 minutes | 4 to 6 minutes | 6 to 9 minutes | Check very early. |
| 3/4 inch | 6 to 10 minutes | 6 to 9 minutes | 8 to 12 minutes | Turn around halfway. |
| 1 inch | 8 to 14 minutes | 8 to 12 minutes | 10 to 16 minutes | Probe near the low end. |
| 1 1/2 inch | 13 to 22 minutes | 12 to 20 minutes | 16 to 24 minutes | Use indirect or lower heat. |
| 2 inches | 20 to 32 minutes | 18 to 30 minutes | 22 to 35 minutes | Finish gently after searing. |
| Cut profile | Method match | Bone-in adjustment | Yield range | Rest habit |
|---|---|---|---|---|
| Tender roast | Oven or low oven | Add about 8% to 18% | 58% to 72% | Rest 10 to 30 minutes. |
| Shoulder or chuck | Smoker or braise | Add about 10% to 25% | 55% to 68% | Rest covered before pulling. |
| Whole bird | Oven, grill, or air fryer | Add about 18% to 30% | 50% to 62% | Rest before carving. |
| Ground loaf | Oven bake | No bone factor | 72% to 82% | Rest before slicing. |
| Duck breast | Pan then oven if thick | Usually boneless | 70% to 78% | Short rest keeps slices clean. |
Cooking meat require an understanding of how heat moves through the meat. Heat does not move through meat at a constant rate. Many people cook there meats based off simple rules.
However, meat can reach the proper temperature either much earlier or much later than the rule suggests, depending on several variable. These variables includes the thickness of the meat, the starting temperature of the meat, and whether or not the meat contain a bone. If the cook does not account for these variables when cooking the meat, the meat may end up either too dry or undercooked in the center.
How Thickness, Heat, and Rest Affect Cooking Meat
The thickness of the meat is one of the main variable to consider when cooking meat. Thickness is more important than the weight of the meat. For instance, an thin steak will cook faster than a thick steak of the same weight.
Similarly, a piece of meat that is relatively flat will cook faster than a thick piece of meat of the same weight. In order to properly cook the meat, a cook can use a calculator to determine the dimensions of the meat to ensure that the cook accounts for the thickness of the meat when cooking. Another variable to consider is the starting temperature of the meat.
Meat that starts at a low starting temperature, such as meat that has been taken out of the refrigerator, will take longer to reach the targeted internal temperature than meat that starts at a higher starting temperature. For instance, meat that has been sitting out on the counter for twenty minutes will reach the targeted internal temperature more fast than meat that has just come out of the refrigerator. Additionally, meat that contains a bone will take longer to cook than meat that does not contain a bone.
This is due to the fact that bones are insulators and prevent the movement of heat from moving through the meat near the bone. Another process that occurs when cooking meat is carryover cooking. Carryover cooking is the process of the meats internal temperature continue to rise after the removal of the meat from the heat source.
This rise in temperature is due to the fact that the outer layer of the meat have reached the targeted internal temperature, and the heat from the outer layers of the meat continues to cook the center of the meat. If the cook removes meat from the heat source when the meat reaches the targeted internal temperature, the meat will be overcooked due to carryover cooking. Meat should be removed from the heat source before the meat reaches the targeted internal temperature to allow for carryover cooking to take place.
Resting the meat after cooking is essential for carryover cooking to take place and for the juices in the meat to redistribute throughout the meat. When meat is cooked, the juices will spill out of the meat if the meat isnt rested. Thin cuts of meat require a shorter resting period than larger cuts of meat due to the fact that larger cuts of meat has a larger temperature gradient between the center and the outer layers of the meat.
A calculator can help inform the cook as to how long to let the meat rest before slicing. The method in which the meat is cooked will also impact how long it takes for the heat to reach the center of the meat. Methods that use high heat will take less time than methods that use low heat to transfer the heat to the center of the meat.
High heat methods will result in the outer layers of the meat reaching the targeted internal temperature while the center of the meat is still hot due to the steep temperature gradient. Low heat methods will slowly cook the meat from center to outside, but will take more time to reach the targeted internal temperature. Another variable to consider is the loss of moisture in the meat during the cooking process.
Lean meats will lose more moisture than meats that contain more fat. Additionally, meat will lose moisture during cooking depending on the targeted internal temperature of the meat. To account for the loss of moisture, a cook can use a calculator to determine the weight of the meat when cooked to account for the number of serving of meat that will be produced.
It is easy for many people to make mistakes in the kitchen when cooking meat. For example, meat of the same weight will not necessarily cook at the same rate if one piece of meat has a different thickness or starting temperature than another piece of meat. Time-per-pound rule are also not a reliable method of cooking meat because they do not account for the thickness of the meat or the shape of the meat.
To avoid cooking mistakes, cooks should of cooked meat within a window of time rather than relying on time-per-pound rules. Additionally, a cook can use a thermometer to check the internal temperature of the meat to ensure that it is cooked correct. Its actualy easy to miss these details if you arent careful.